X-Ray Diffraction

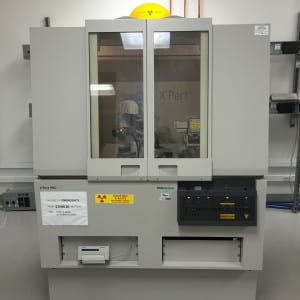
The Malvern PANalytical Materials Research Diffractometer (MRD) generates x-rays, directs them toward the sample, and the diffracted rays are collected. A key component of diffraction is the angle between the incident and the diffracted beam.
The collected data are widely used for the identification of unknown crystalline materials (e.g. minerals, inorganic compounds). Determination of unknown solids is critical to studies in geology, environmental science, material science, engineering and biology.
Though the MRD can do a number of different measurements, it is especially designed to do texture measurements (pole figures), residual stress, and glancing angle measurements.
[expand title="Texture Measurements"]
Texture measurements are used to determine the orientation distribution of crystalline grains in a polycrystalline sample. A material is termed textured if the grains are aligned in a preferred orientation along certain lattice planes. One can view the textured state of a material (typically in the form of thin films) as an intermediate state in between a completely randomly oriented polycrystalline powder and a completely oriented single crystal. The texture is usually introduced in the fabrication process (e.g. rolling of thin sheet metal, deposition, etc.) and affect the material properties by introducing structural anisotropy.
A texture measurement is also referred to as a pole figure as it is often plotted in polar coordinates consisting of the tilt and rotation angles with respect to a given crystallographic orientation. A pole figure is measured at a fixed scattering angle (constant d spacing) and consists of a series of f -scans (in- plane rotation around the center of the sample) at different tilt or Y -(azimuth) angles, as illustrated below.

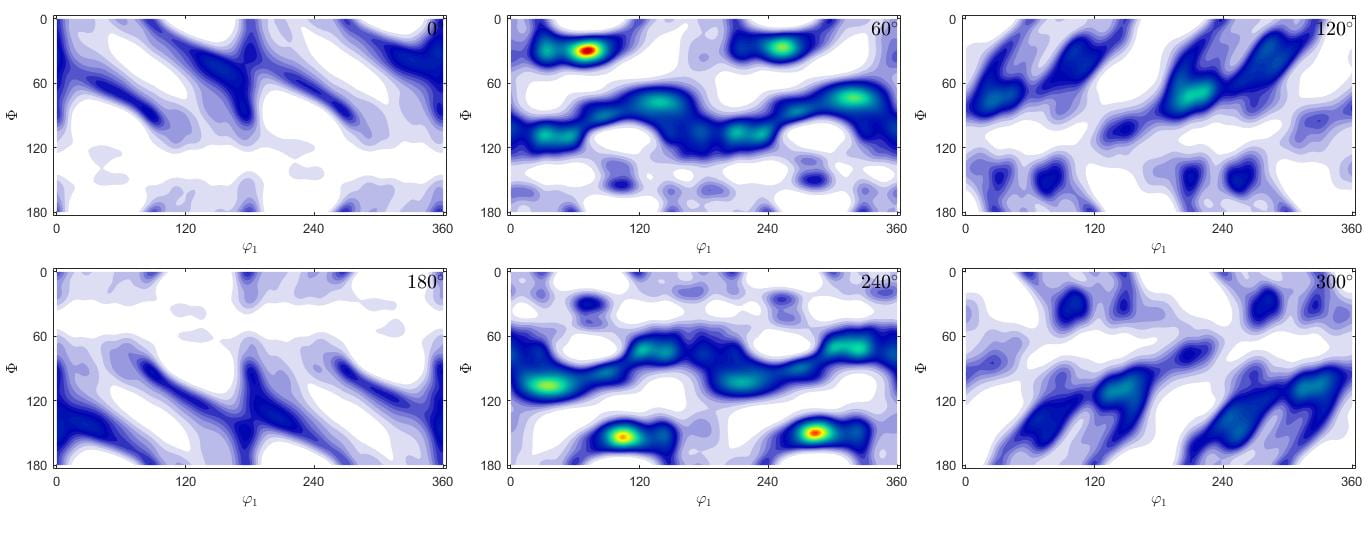
The pole figure data are displayed as contour plots or elevation graphs with zero angle in the center. Below we show two pole figure plots using the same data set. An orientation distribution function (ODF) can be calculated using the pole figure data.
[/expand]
To reserve time or request training on this tool, click here or on the MRD tool page on SUMS.
 |
 |
 |
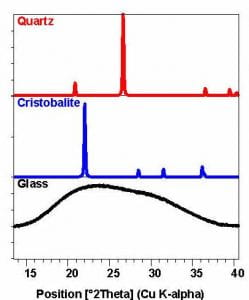
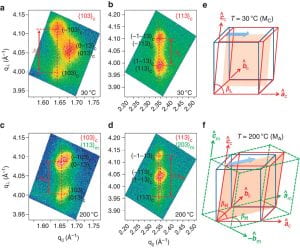
| These are all compositionally SiO2: Though chemically identical, the atoms are aligned differently and each phase produces a different pattern. | A reciprocal space map is a 2D section of the full 3D diffraction pattern and can provide complete information on both in-plane and out-of-plane lattice parameters for the analysis of strained films. | Texture analysis looks at spatial variations in the diffraction pattern to measure preferential orientation of crystallites within a material. |
[expand title="System Details:"]
All x-ray diffraction systems have three components. An x-ray source, sample holder stage, and a detector. There are a number of sources with various properties and wavelengths, the MRD has a copper anode with a Kα of 1.54184 Å.
The system has a number of optics allowing for the measurement of solid materials of different shapes and sizes.
Four Circle Goniometer: The stage is what allows for the MRD to perform a number of measurements that other XRDs are not capable of as it can manipulate the sample geometry in real space in dimensions X, Y, Z, Omega, Phi, and Psi, which can allow for the x-ray to be directed at specific orientations at the sample.
- Sample Size: If your material is a solid that is smaller than 4″ in width and less than 2.5″ in height, then your sample will work with this stage. The sample will need to be calibrated to be properly oriented against the beam in X, Y, Z, and Omega co-ordinates.
- Capabilities: Allows for measurements of residual stress or for the phase identification of crystalline material for samples that don’t fit in the holders that work with the Reflection-Transmission spinner. Glancing angle experiments for examination of the phases of thin films on top of a substrate can also be performed. Texture measurements can only be performed on this XRD in the MCF.
[/expand]
[expand title=”Performance Check Results:”]
NIST Reference Sample Analyzed in May 2021
NIST Reference Sample Analyzed in June 2019
NIST Reference Sample Analyzed in March 2019
NIST Reference Sample Analyzed in Jan 2019
[/expand]
Downloadable Files:
Instructions for Phase ID
Instructions for Residual Stress
NIST Reference Material (1976b)
Texture Analysis using M.tex and Matlab To download M.Tex you can go here.


