Nanomechanical Testing
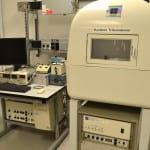
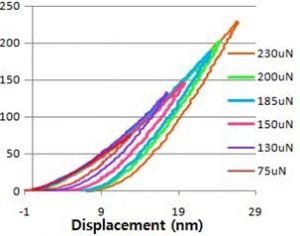
The Hysitron nanoindenter indents materials using small probes of known geometry. Sensors coupled to the probe allow the system to simultaneously measure the force applied to and the displacement of the probe.
Those data are used to determine the modulus and hardness of the material among other mechanical properties of the sample.
To reserve time or request training on this tool, click here or on the image at left to go to the Hysitron tool page on SUMS.
 |
 |
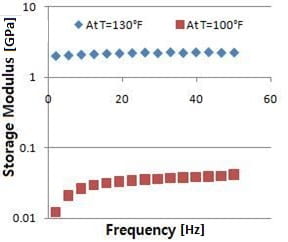 |
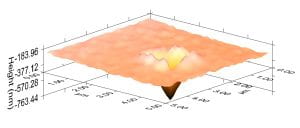
| High resolution sensors give ability to measure films less than 50 nm. | In-situ SPM mode can image areas in 3D immediately before and after indentation. | Dynamic mode measurements of samples reveal viscoelastic properties. |
Materials as soft as contact lenses and as hard as sapphire can be measured in air, in liquid, or – using a built-in gas purge – in a controlled ambient . An integrated motorized stage and video camera allow users to set up automated measurement sequences covering specific areas or features.
[expand title="System Details:"]
The system has two heads each with a variety of probe shapes and sizes:
Standard head: Max force ~14 mN; Max displacement ~5.5 μm, Min useful force ~10 μN
- Probes: Berkovich (equivalent to Vickers), Cube corner, Flat Punch (30 μm diameter cylinder), Spherical (1, 10, and 100 μm radius), Fluid probe (20 μm spherical probe for measurements in liquid)
- Capabilities: Quasistatic indents (Hardness and Modulus), Dynamic mode – DMA or CSM – (Storage and Loss Modulus), In-situ SPM mode (3D Nanoscale Imaging), Tribology (Scratch and Wear testing)
Extended Range High Load head: Max Force ~1500 mN (1.5 N), Max displacement ~95 μm, Min useful force ~100 μN, Force resolution
- Probes: Berkovich, Cube corner, Spherical (20 and 50 μm radius)
- Capabilities: Quasistatic indents, Displacement control in addition to load control
[/expand]
Files:

